A Kale Massage

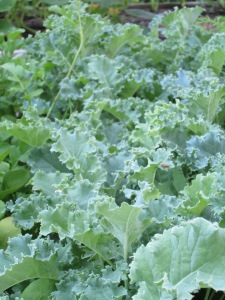
Kale massage is not what you think. This is a delicious salad for your inside, not something to rub on your outside. Kale’s dark green leaves are one of the healthiest greens you can eat.

kale

I first saw this recipe prepared on a TV cooking shows. Aarti Sequeria was making a kale salad. I was thinking tough kale leaves in a salad! Who would want to eat that? The secret is in the massage. The tough center rib of the kale is removed and the kale cut into bit-size pieces. It is then massaged with lemon juice, a drizzle of olive oil and salt. After two or three minutes the leaves turn darker green and soften. The original recipe calls for mango. I have made this salad with oranges, canned peaches, even once an apple because it was all I had. It is one of my favorite salads.

The salad lasts for days in the fridge if you don’t eat it all the first day. I think it’s even better the second day. The kale in my community garden bed is getting big enough to cut. I can’t wait to make this salad. This link even has a video of Aarti making the salad and shows how to prepare the raw kale. At the bottom of the page are many more kale salad recipes. Who knew?

Imagine my surprise to find another kale salad recipe at a recent culinary gathering at the St. Michaels Woman’s Club. I thought I was the only one who knew about massaging kale. This is Karen Thomas’ Kale Salad recipe.

  • 1/2 cup pecans
  • 8 ounces kale
  • 4 to 5 medium radishes
  • 1/2 cup dried cranberries (or cherries)
  • 1 medium Granny Smith apple
  • 2 ounces soft goat cheese, chilled

Dressing

  • 3 tablespoons olive oil
  • 1 1/2 tablespoons apple cider vinegar (or white wine vinegar)
  • 1 tablespoon smooth Dijon mustard
  • 1 1/2 teaspoons honey
  • Sea salt and freshly ground pepper, to taste

Instructions

  1. Preheat the oven to 350 degrees and spread the pecans on a baking tray. Toast them until lightly golden and fragrant, about 5 to 10 minutes, tossing them once or twice to make sure they bake evenly. Remove the tray from the oven and set them aside to cool.
  2. Pull the kale leaves off from the tough stems and discard the stems. Use a chef’s knife to chop the kale into small, bite-sized pieces. Transfer the kale to a big salad bowl. Sprinkle a small pinch of sea salt over the kale and massage the leaves with your hands by lightly scrunching big handfuls at a time, until the leaves are darker in color and fragrant.
  3. Thinly slice the radishes (this is easier to do if you first chop off the root end so you can place the base of the radish flat against your cutting board). Add them to the bowl.
  4. Coarsely chop the pecans and cherries and add them to the bowl. Chop the apple into small, bite-sized pieces and add it to the bowl as well. Crumble the goat cheese over the top.
  5. In a small bowl, whisk the dressing ingredients together and pour the dressing over the salad. Toss until the salad is evenly coated with dressing. Serve immediately, or for even better flavor, let the salad marinate in the dressing for 10 to 20 minutes beforehand.

Even if you think you don’t like kale, give kale salad a try. Kale is also a great fall/winter crop for your community garden bed. We ate kale salad into the spring this year. The kale just got more luscious after a frost.

Garden Maintenance

Garden Maintenance

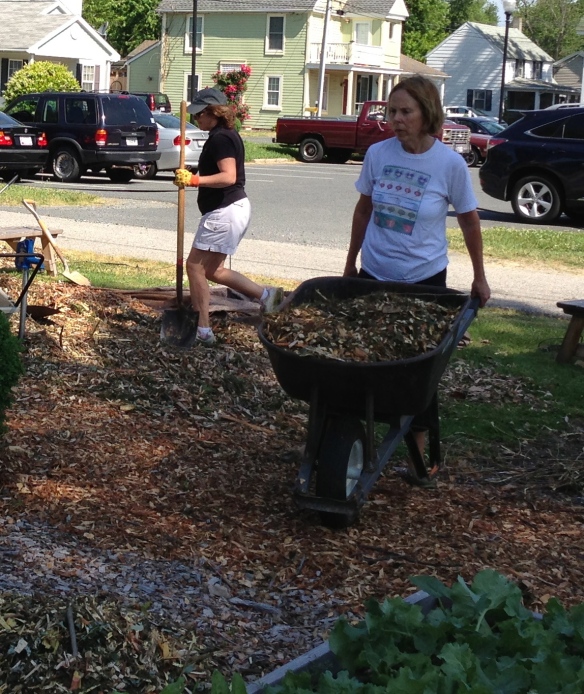
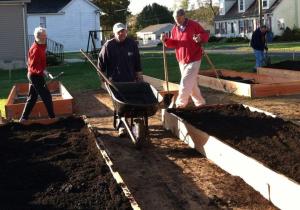
In any garden maintenance is an ongoing issue. In a community garden maintenance requires people working together. Bridges Landscaping Services delivered a second load of chipped wood to the garden and on Sunday morning five ladies showed up to work. In a little over an hour they had moved all the mulch to the paths between the garden beds. One more load from Bridges should be enough to cover all the open spaces and that maintenance job will be finished for this year.

mulching garden 6-1-13 Bev and Pennie

While we were dumping barrows full of chips, we had to pick up trash from around some beds. Broken rain guages, lots of plant markers, pulled weeds, an occasional stake and a couple of tomato cages. All of us need to be mindful of keeping the garden clean and tidy. For example, if we each pulled weeds from the paths around our beds, we could eliminate most Round-up spraying. That would be a fantastic goal.

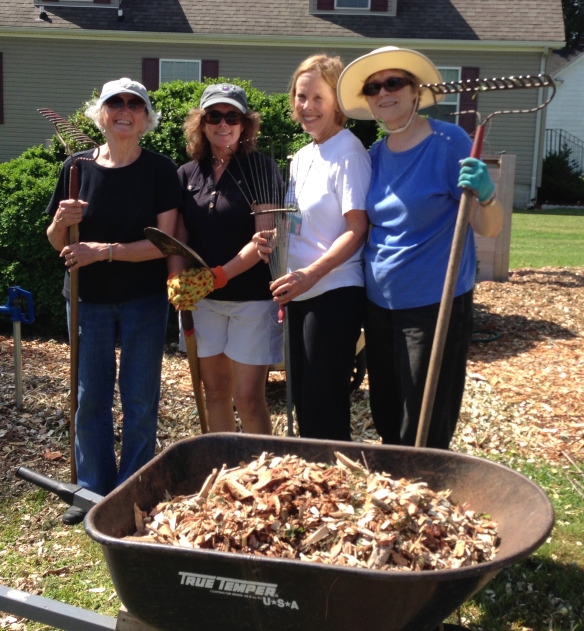
mulching comm garden#1 on 6-2-13

Working on projects like this is a terrific way to meet the gardeners. Above are Val Kenn Gray, Pennie Haase, Bev Pratt and Mala Burt.  Meg Ingold helped and took the photos. Bobby Malzone, who mows the grass in the garden common areas, stopped by on his bicycle. He was interested in the composting process and wondered if we could get a bag for the mower. That would supply us with green layers for the bins. Bobby had already spread some mulch a day earlier. We were grateful. Maintenance is the job of the entire community garden and every little bit that anyone does helps our garden shine.

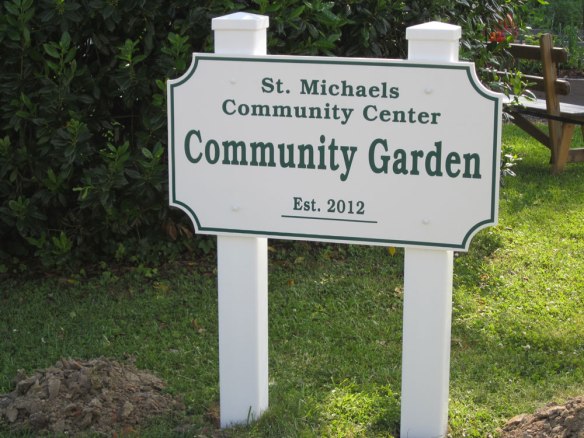
Kudos to Jack Gray who, on a recent hot day, dug through clay, brick and oyster shells to install our new sign.

community-Garden-sign


Composting 101

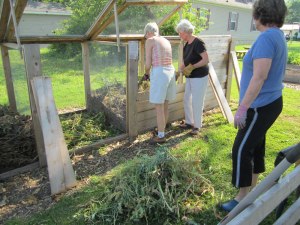
Judy Shuler, a Master Composter trained by Penn State, presented the do’s and don’ts of composting to a group at the St. Michaels Community Garden. Some of us who thought we were composting, now know what we need to do differently in our home piles. After her overview, Judy went to the garden and we began to build a compost pile.

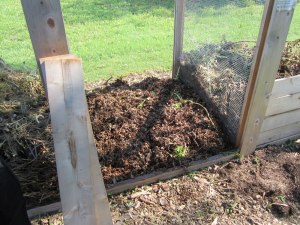
Our bins are full of garden refuse that has been just thrown in the bins. This is not composting. Judy started by pulling the weeds out of one of the empty bins.

cleaning-bin-#2

The green layer of weeds and some green refuse in one of the other bins was chopped or bruised with a flat bottomed spade and thrown back in to make the first layer – a green layer. A little water was added.

chopping-green-layer

A bag of leaves was then added (a brown layer). This was easier than chopping up the dried stuff in the bin next door. That will be for another day. Some of what is in the bins has lots of soil on the roots. Judy says no soil should be added to the layers. Some of the stalks are so large they will have to be cut into small pieces or they will not decompose. Root balls may need to be removed.

brown-layer-added

The leaves – the brown layer –  was wetted, stirred with a fork until all the leaves were damp. The boards at the front of the bin were then replaced.

wetting-the-layers

This is the start of a real compost pile at our garden. Clearly we need to have more of our gardeners learn how to put things in the bins and how to build layers. Just throwing stuff in the bins is NOT composting. We also found that someone had thrown crab shells in one of the bins and hope that was not one of our gardeners. There is a list posted on the bins about what can be put in and what cannot.

To compost we need to build layers, there needs to be a certain level of dampness, and the pile needs to be stirred. It won’t be hard if more of us learn how to do it properly.

Judy Shuler is passionate about composting and will come back to help us again. We need to get as many people as possible on board with this process so we can reap the brown gold that is the end result. Our garden beds will all benefit.

Why Did My Plants Die?

ImageMala Burt posted a poem she could relate to:

Why Did My Plant Die?
by Geoffrey B. Charlesworth

You walked too close. You trod on it.
You dropped a piece of sod on it.
You hoed it down. You weeded it.
You planted it the wrong way up.
You grew it in a yogurt cup
But you forgot to make a hole;
The soggy compost took its toll.
September storm. November drought.
It heaved in March, the roots popped out.
You watered it with herbicide.
You scattered bonemeal far and wide.
Attracting local omnivores,
Who ate your plant and stayed for more.
You left it baking in the sun
While you departed at a run
To find a spade, perhaps a trowel,
Meanwhile the plant threw in the towel.
You planted it with crown too high;
The soil washed off, that explains why.
Too high pH. It hated lime.
Alas it needs a gentler clime. You left the root ball wrapped in plastic.
You broke the roots. They’re not elastic.
You walked too close. You trod on it.
You dropped a piece of sod on it.
You splashed the plant with mower oil.
You should do something to your soil.
Too rich. Too poor. Such wretched tilth.
Your soil is clay. Your soil is filth.
Your plant was eaten by a slug.
The growing point contained a bug.
These aphids are controlled by ants,
Who milk the juice, it kills the plants.
In early spring your garden’s mud.
You walked around! That’s not much good.
With heat and light you hurried it.
You worried it. You buried it.
The poor plant missed the mountain air:
No heat, no summer muggs up there.
You overfed it 10-10-10.
Forgot to water it again.
You hit it sharply with the hose.
You used a can without a rose.
Perhaps you sprinkled from above.
You should have talked to it with love.
The nursery mailed it without roots.
You killed it with those gardening boots.
You walked too close. You trod on it.
You dropped a piece of sod on it.

Trellis Envy

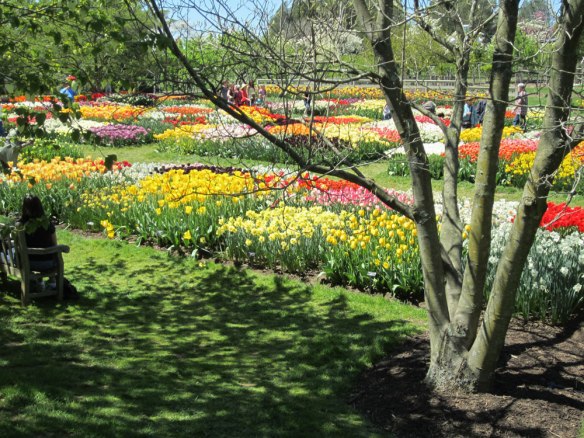
Mala Burt writes: Last week I was at Longwood Garden. The spring flowers, particularly the tulips, were spectacular. tulip-quilts-Longwood-for-w

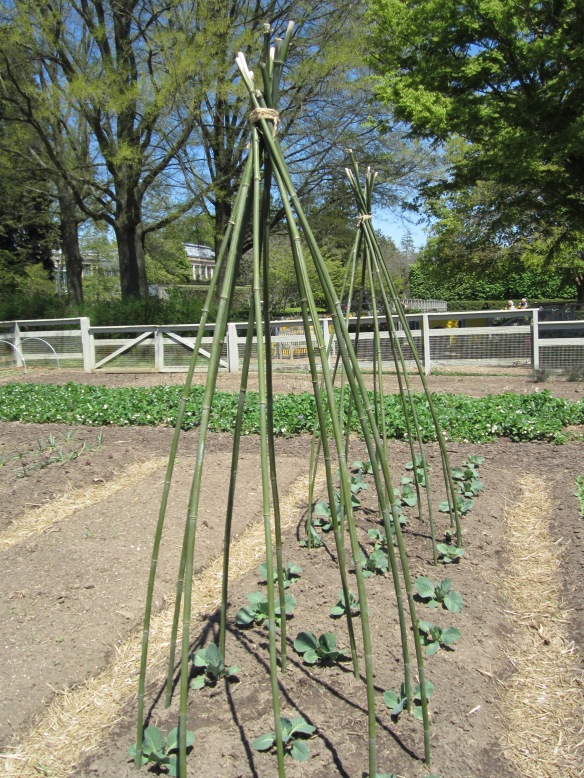
Howeverr, it was the vegetable garden at Longwood that caught my eye. I was very interested in the types of trellises they had built to assist vining veggies. Here are some examples.bamboo trellis

The photo above is of a bamboo trellis. Flexible bamboo stakes are pushed into the ground and simply tied with twine at the top. I was curious that the plants below seemed to be cabbages. I wonder if they will tie floating row cover around the trellis to keep out the cabbage worms.

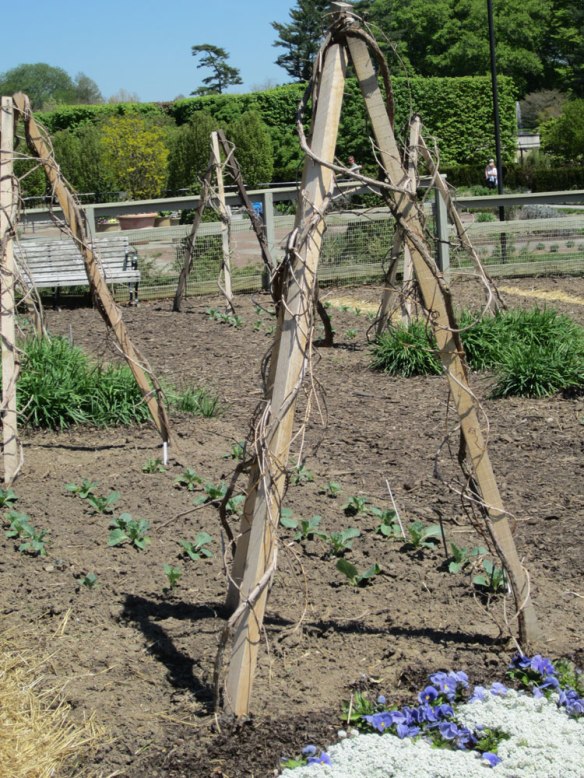
tri-post-trellis-with-grape I loved the look of this one. Stakes twined with grapevines. Of course, having some bright flowers here and there made the veggie garden less brown this early in the season. climbing trellis

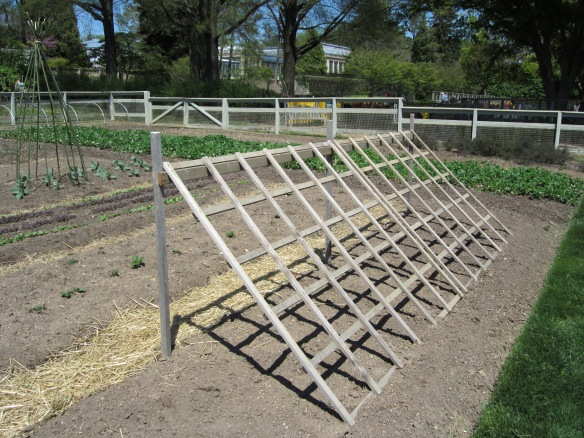
This trellis would be terrific for growing cukes or squash.

I talked to one of the gardeners and asked about how they handled deer, rabbits, etc. Come to think of it, I didn’t see any squirrels. There was a pretty fence around this garden with rabbit wire at the bottom and the gates are closed at night. So that takes care of the rabbits. The deer are handled in a different way. They put up an electric fence and entice the deer by dabbing it with peanut butter. The deer get shocked and learn the boundaries. Here’s the kicker, however. They put up the fence every evening and take it down every morning. The visitors to Longwood never see the electric fence.

Grow Vertically: Make an Easy Trellis

Pennie Haase (bed #26) writes: This year I wanted to get the most out of my new garden bed, so I decided to grow up. Online I found lots of trellis ideas on square foot gardening websites. A quick trip to Lowes and $14 later I had everything I needed:

Materials for trellis

After measuring the bed, I had my husband cut the one piece of conduit, then laid everything out on the garage floor to see if in fact it would work.  A few minutes later we headed down to the garden and quickly assembled the trellis.   He pounded the rebar, tightened the screws and I tied.  My peas are just starting to grow, so we’ll see how well it works.

My Trellis at the Community Garden:

Pennie's Trellis

Pennie’s Trellis

Materials: (Lowes in Easton):3 – 5’ lengths ½” EMT Conduit ($1.65 each – aisle 14); 2 – ½” EMT to EMT pull elbows ($2.71 each – aisle 14); 2 – rebar pins ½” x 4’ (2.98 each – aisle 53 );1 – trellis netting 5’ x 15’ ($4.97 – outside garden area)

Optional Materials: 1 – 4’ stake for bottom; 2 – tie down stakes/irrigation stakes or cut coat hangers

Tools: Hacksaw, Hammer, Screwdriver, Tape measure, Scissors, Use hacksaw to cut off 13 1/2″ conduit from one 5’ section – this will be the top.

Note – measure your bed to ensure that it is 48″ on the interior

How To: Attach elbows to top of other two 5’ sections – these will be the sides.

Unroll trellis and measure out 6’ length x 5’ width, thread one side conduit down 6’ length alternating the conduit in and out of the squares, measure over 4’ and thread the other side section. Attach top by threading through alternating squares. Cut netting to fit, allowing extra for tying.

Pound rebar inside the corners 2’, don’t mash down top of rebar or it will not slide inside the conduit. Slide the conduit over the rebar, square it up, push conduit into ground to stabilize and tighten screws on the elbows.

Tie off the squares of netting to top and sides or use wire ties.

Optional: Pennie added a stabilizing stake to the bottom, threading it through alternating squares and securing it to the ground with irrigation stakes.

Info from Square Foot Gardening – also on the web: http://hedgehoghill.blogspot.com/2013/02/square-foot-gardening-on-gulf-coast_27.html

We Went to a Garden Party

Today was the second Garden Party for the St. Michaels Community Garden. It was just a year ago that the garden was completed and beds planted. Today was sunny with a chilly breeze, but we gathered inside the St. Michaels Library for refreshments and conversation before going outside to take a look at the garden.

garden party 4

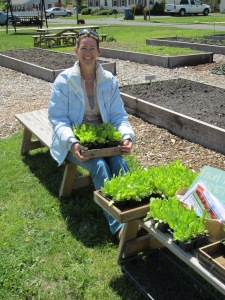
Most beds have been turned over, and many have been planted. Our cool spring has put us behind last year, but seeds are sprouting and so far the squirrels and deer are not a problem. It wasn’t long before people who had not planned to work on their beds were pulling weeds and planting lettuces grown and donated by a smiling Carol Bean.

Carol Bean and lettuce starts

Reverend Emmanuel Johnson spoke about the garden as a gift to the community. He said the garden’s effects are rippling out in ways we don’t know. For many of us the friendships we are making while we tend our garden beds has been the unexpected harvest.

A History of the Garden

In October of 2011, Lisa Sylvestri, a representative from the Eastern Shore Land Conservancy met with a group of local gardeners, several Talbot County Master Gardeners and Trish Payne, Director of the St. Michaels Community Center to discuss the idea of creating a community garden in St. Michaels.  There was a very positive reaction to this suggestion, and a vision of a community garden in St.Michaels took form.  Ms. Sylvestri recommended a source on community gardening from the University of Missouri that became the guide for the garden’s structure and organization.

The first steps were to find a spot for the garden and to establish a mission statement and guidelines.  The town commissioners graciously agreed to lease a town-owned vacant lot between Conner and Fremont Streets for five years.  The second step was to establish the following mission statement: The objectives of the St. Michaels Community Center Garden are to give residents access to fresh produce, educate children and adults in good gardening practices and turn a vacant lot into a vital and appealing space where people may gather, work together and socialize in a space that builds community.

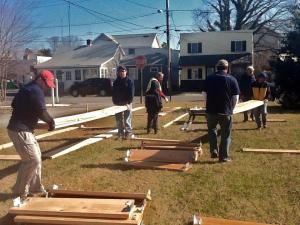
Landscaper Roger Galvin, who created the historic gardens at the Chesapeake Bay Maritime Museum, designed a garden plan, and community activist Laurie Pratt became the driving force in getting it built. Thanks to start-up grants from The Rotary Club of St. Michaels and Christmas in St. Michaels, the vision began to become a reality. The garden structure itself was created through in-kind donations from Shannahan Artesian Wells, Inc., Electric by Miller, Choptank Electric, Leonard Landscape Management  and donations of labor and funds from many other community members. Forty raised beds, a storage shed and compost bins completed the hardscape.

On April 15, 2012, a little less than a year from inception, over 70 community members turned out to celebrate the grand opening of the St. Michaels Community Center Community Garden.  Many of the gardeners, eager to begin, had already planted cool weather crops, and the garden was vibrant with new growth.

The garden has fulfilled its mission by providing an inviting and attractive public area for people to gather, work together and socialize.  The Wilson Reading Garden and the Community Garden complement each other beautifully and tables and benches provide comfortable spots for people to visit, enjoy a picnic or just observe the garden beds.